In this first example we'll show the operational semantic of Image Processor, moreover we'll introduce the first fundamental elements of the scripting language.
Before writing any lines of code, we have to set application parameters and to prepare images batch.
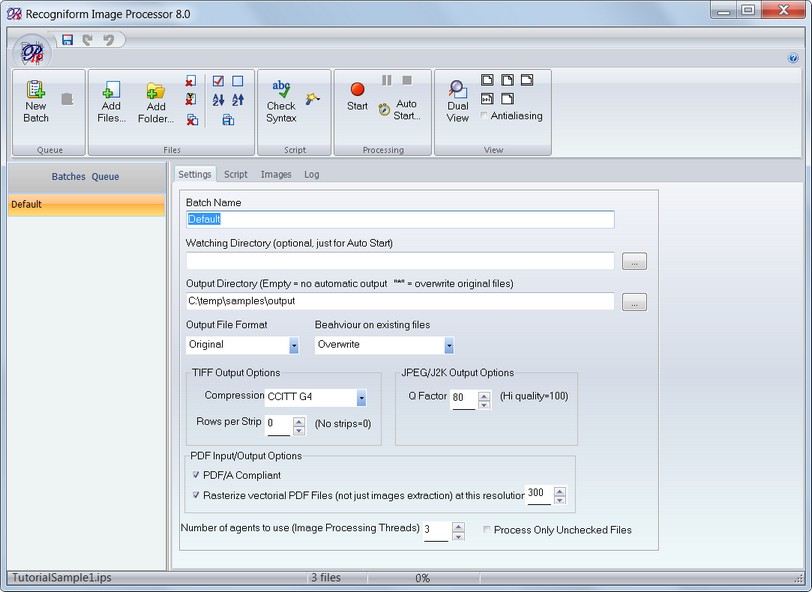
In Setting section, we can set output directory the will contain the files read from the batch list and processed; moreover we can select output file format and the number of thread will execute image processing (default setting is three).
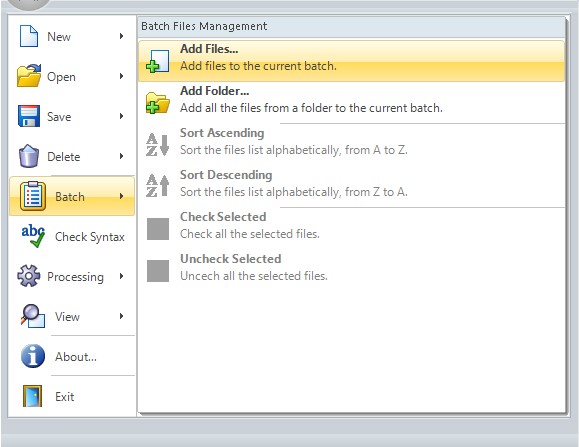
Clicking on Add Files... button into the toolbar or using the same command selecting the Application menu and then the Batch submenu, we can choose add your files and your folders that made up your processing batch.
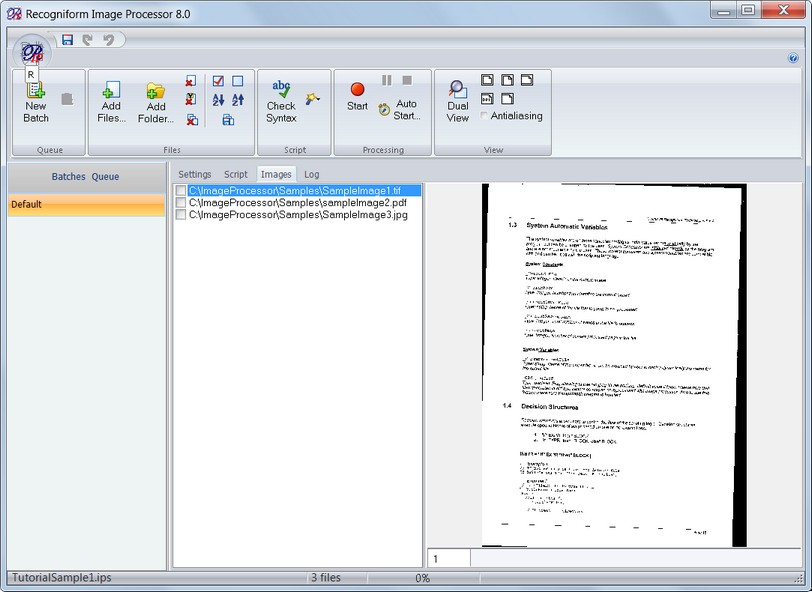
In the section Images, we can control batch files list and view each image. Images can be rearranged using the specific commands in Batch submenu or using the Add Files and Add Folder buttons from the File toolbar. Using the commands in View submenu or buttons in View toolbar, we also can change the visualization option of selected image.
After preliminary setting and adding images to the default batch, we can select the Script Section of the Main Window. There is a wide text area when we can write our script.
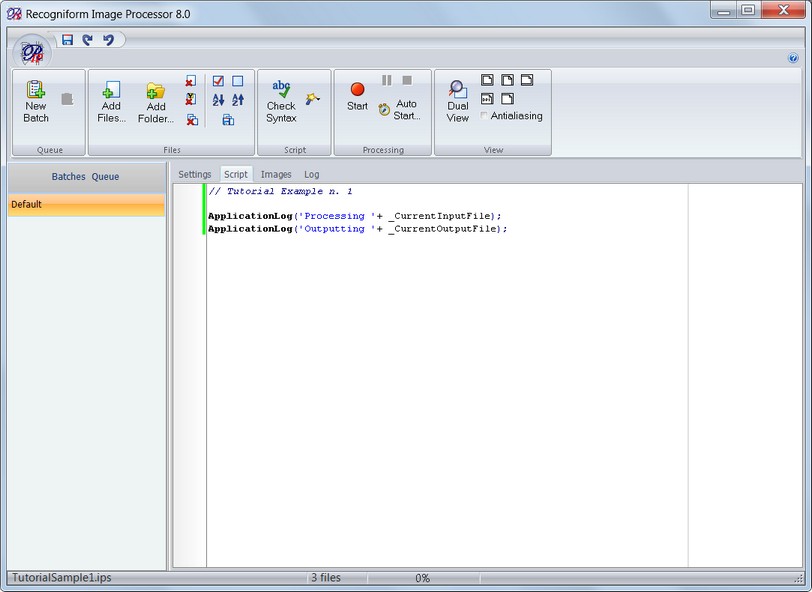
In this first example, we'll show how Image Processor processes the batch and we'll use the log screen for tracking the step executed by the application. Here is a simple script, useful for this aim:
ApplicationLog('Processing ' + _CurrentInputFile);
ApplicationLog('Outputting '+ _CurrentOutputFile);
ApplicationLog allows us to write a string in the Log track that we can look in the Processing Log Section. This procedure requires the string we want to write. The parameter in the procedure is the string we want to write in the LOG; we can easily understand by this simple example that we can concatenate a group of strings using '+' operator. _CurrentInputFile and _CurrentOutputFile are system variables so the run time environment sets them automatically; the former contains the current input file name, including its folder path, the latter gives us the path and the name of the output file that will contain the current processed image. User never has to modify
_CurrentInputFile; it can be useful modifying _CurrentOutputFile instead, especially when we want to redirect output.
Clicking on Start command in Processing toolbar or using the same command from Processing submenu, the batch processing will start and in the Processing Log Section we can find the result of our script (before executing the elaboration (if we haven't saved the script, the program ask for saving it).
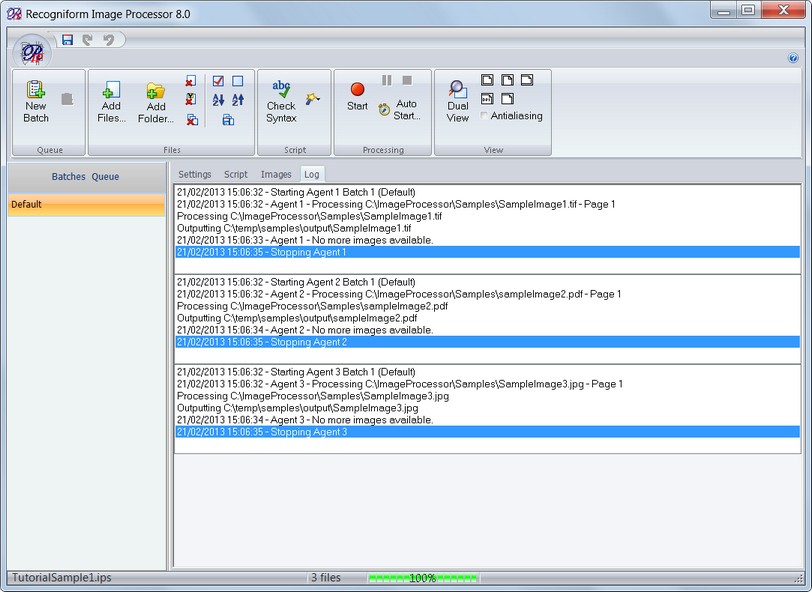
The operational semantic is so clear; the run-time environment executes the following cycle for each image in the batch list: it load an image; it processes it using our script; it outputs the result into the directory we have indicated in the Settings tab. If we set more than one agents, this process will be distributed among the specified number of threads (concurrent processing). Now it's also clear why the system variables are called _CurrentInputFile, _CurrentOutputFile, etc.: each iteration of the cycle their value is automatically updated by the run-time environment according to the current loaded file.
In the specific case showed in this example the script doesn't operate any kind of elaboration, so each image is simply copied into output directory without being modified.